As a way of enabling users to take and store more photos on their devices, Apple introduced the HEIC format in 2017. It stands for High-Efficiency Image Container and generally takes up about half the space of an equivalent quality JPG file. The color quality is far superior as well. Despite these benefits though, HEIC is not recognized by other operating systems and a lot of apps, so people generally find HEIC a bit annoying if they want to share something with someone. Therefore, you would have to convert the HEIC image to JPG.
Read more: How to transfer photos and videos from iPhone to Android
QUICK ANSWER
To convert HEIC to JPG on a Mac, the quick method is to open the image then hold down the Option key and go to File–>Save as. Choose JPG and save. You can also export the image from the Photos app and the image will automatically convert (if you have set the right option in your iOS Photos app). On Windows, it’s easiest to install an app from the Microsoft Store or use an online converter. On iOS devices, you can convert HEIC using the Files app.
JUMP TO KEY SECTIONS
How to convert HEIC to JPG on a Mac
There are three ways to convert a HEIC image to JPG on a Mac.
Using the built-in conversion tool
As with any file format, you can easily convert it by opening it up in Finder. Once open, hold down the Option key on your keyboard and go to File–>Save as in Finder. Images will come up as JPG by default.
Exporting from the Photos app
If you export the image from the Photos app to your Mac, or Windows PC storage (with a connecting cable), it will automatically convert to JPG for you. But you must switch something in your iOS Photos app first (assuming you also have an iOS device.)
In iOS, go to Settings–>Photos and scroll down to Transfer to Mac or PC. Now tap Automatic.
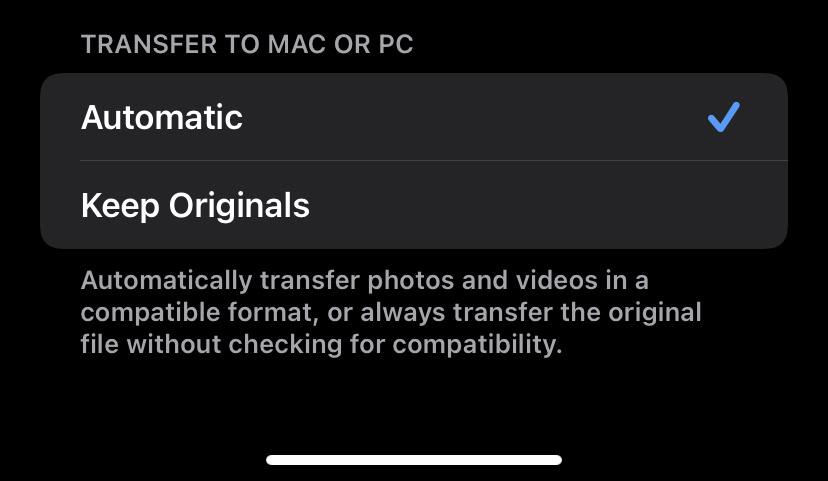
Now when you move the image from your iPhone to your Mac or PC, it will automatically convert to JPG.
Using an app
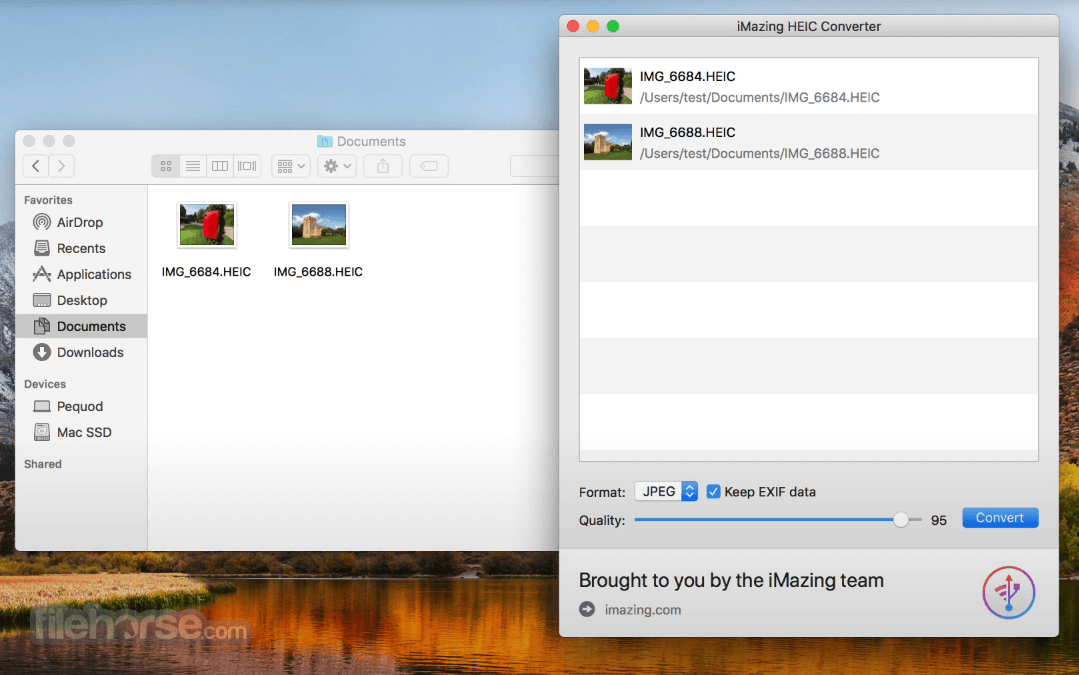
The third option is to use an app. If you look in the App Store, there are many alternatives, some free, some paid. The best one is iMazing HEIC Converter which is free to use and very simple. But given how easy the other methods are, an app is a bit overkill. The only advantage to the app is that you can do bulk conversions very quickly.
How to convert HEIC to JPG on an iPhone or iPad
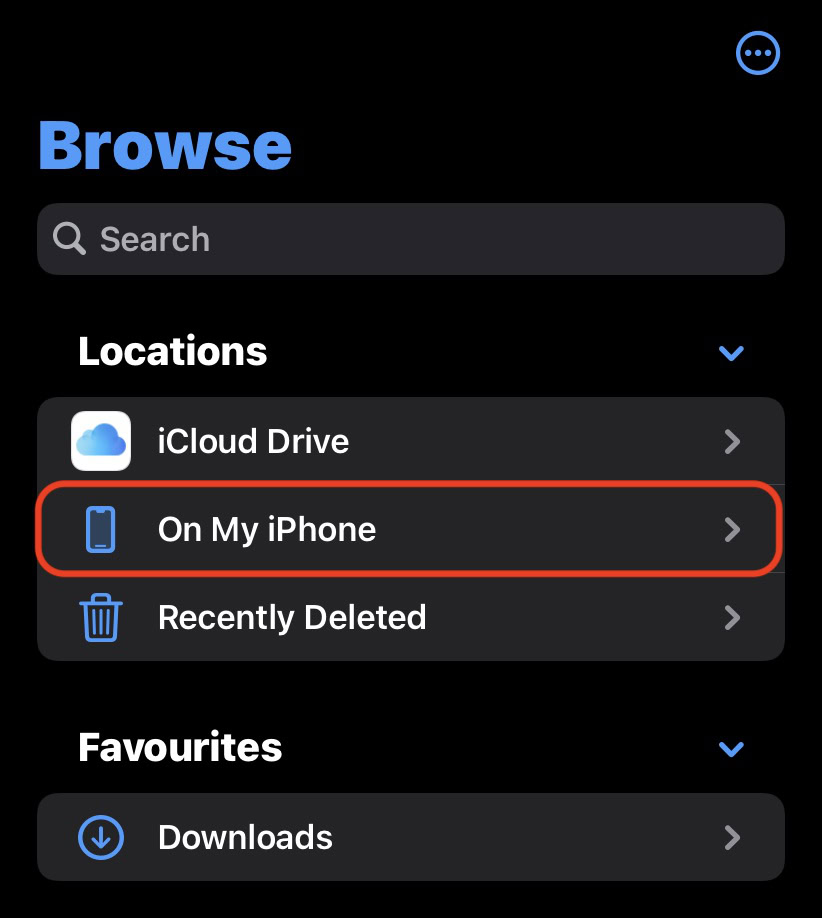
If you have lots of HEIC images on your iPhone or iPad, the fastest way to convert them all to JPG is to copy them from Photos and move those copies to the Files app. Open the Files app and tap On my iPhone.
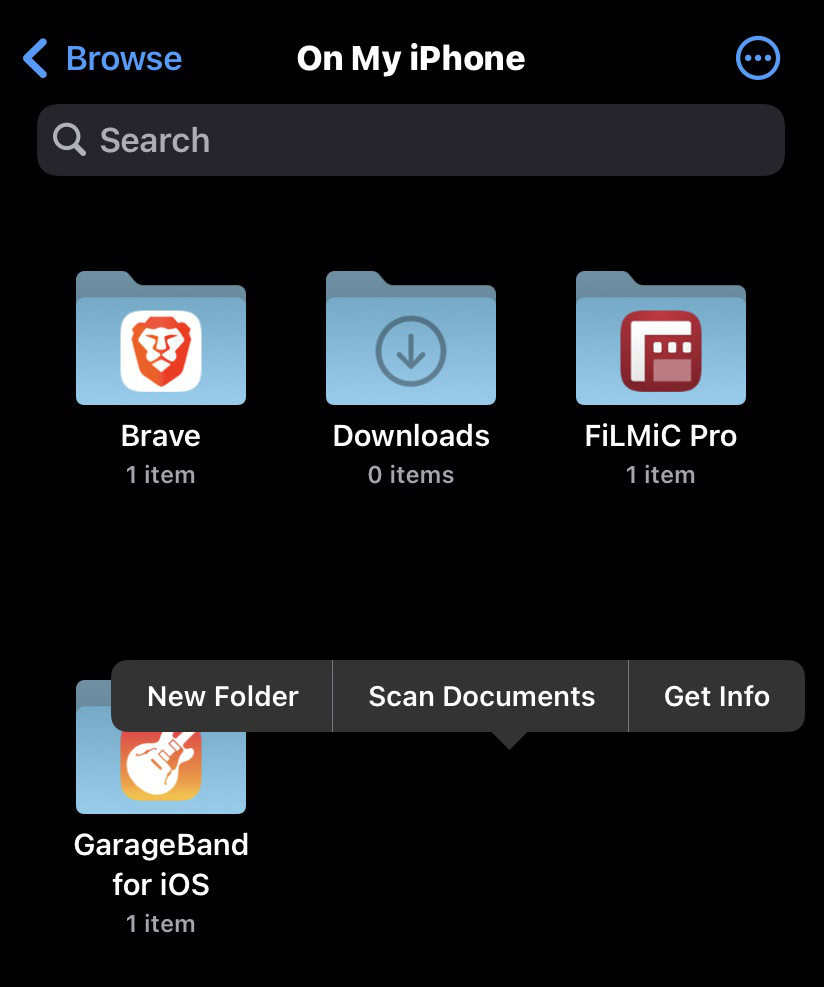
Make a new folder by holding down your finger until a black bar appears. Tap New Folder and give it a name.
Jump over to the Photos app and find the HEIC photos you want to convert. Select them and tap the Share menu. Select Copy Photo.
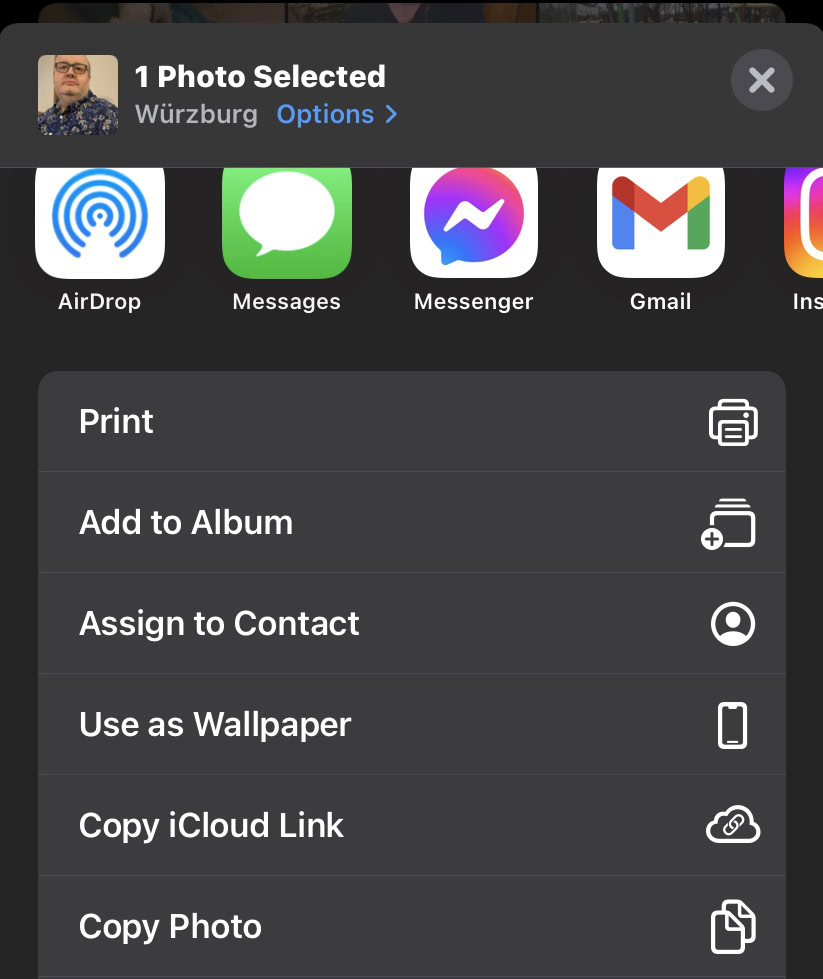
Go back to your newly created folder in Files, hold down your finger on the screen, and when the black bar comes up, tap Paste. When the photos appear, they will be in JPG format.
How to convert HEIC to JPG on Windows
Like with macOS, there are several options here if you’re on a Windows system. If you have an iOS device, you can use the second macOS method to move the images from your iPhone or iPad and have them automatically converted. Doing it this way is undoubtedly the easiest method of them all. If you don’t have an iOS device, then the other two options are an app from the Microsoft Store or an online HEIC to JPG generator.
HEIC Converter
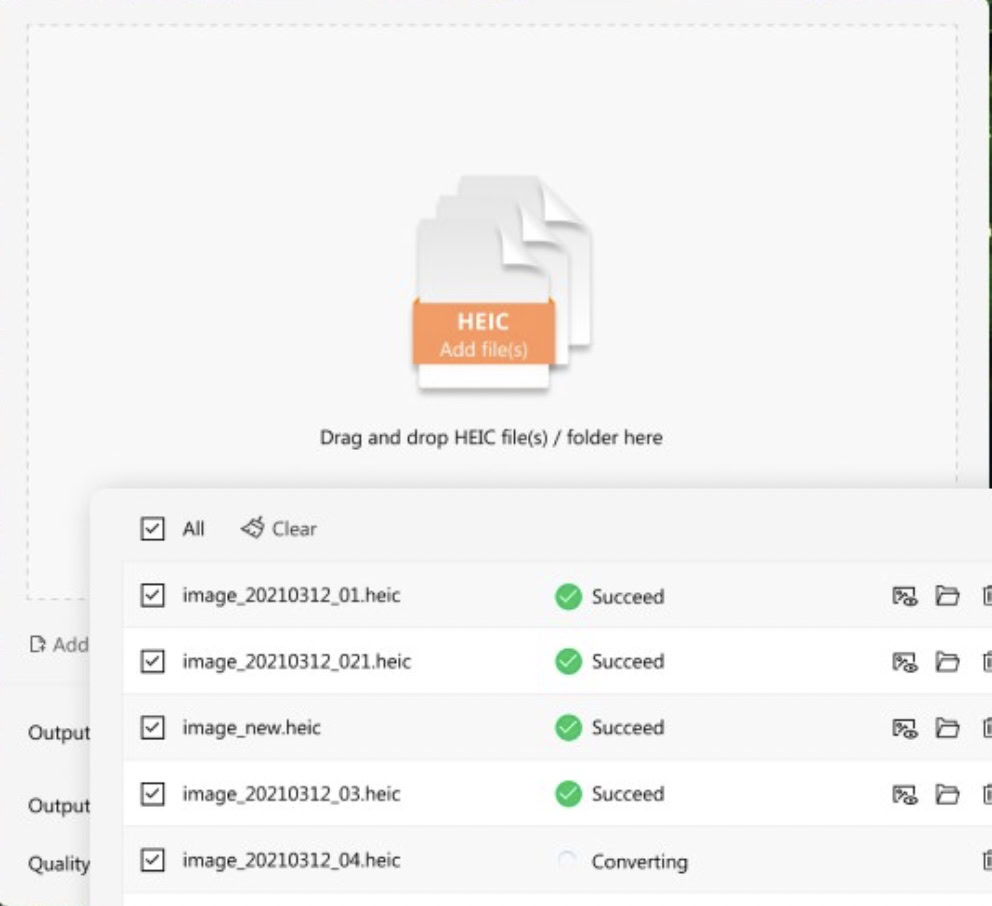
If you’d prefer to go the Microsoft Store app route, a lot of them are paid and the free ones have a restricted number of images you can do per day. But a highly recommended free one is HEIC Converter. It works virtually similar to iMazing in that you simply drag the HEIC images into the interface and then click JPG as the output file. It’s very easy. You can do batches and there don’t seem to be any daily restrictions.
Online generator
The other method is to use an online generator, although you obviously have to take privacy considerations into account if your photos are being processed on someone else’s site.
HEIC was created by Apple as a way for users to store more images on their devices without taking up more space. However, since HEIC is only recognized by Apple devices, many people don’t like it due to its lack of compatibility with other platforms.
Since other operating systems and apps don’t recognize HEIC, images in that format are not very shareable. Therefore, if you are in the habit of sharing a lot of images on cross-platform apps, it’s best to convert them to JPG so everyone can open them.
Windows does not recognize HEIC images as it is a closed proprietary system created by Apple.
On your iPhone, go to Settings–>Camera–>Formats. Select Most Compatible to switch all future photos to JPG format.

